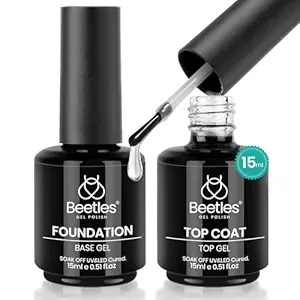
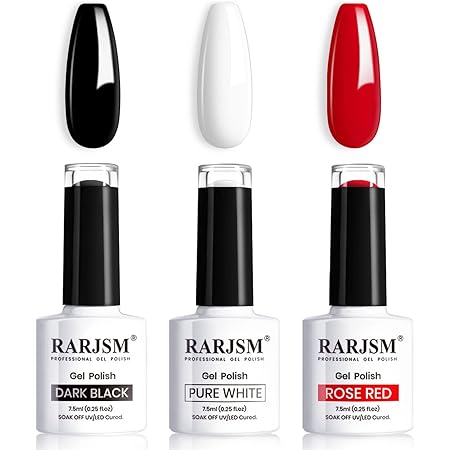
Polishes Needed:

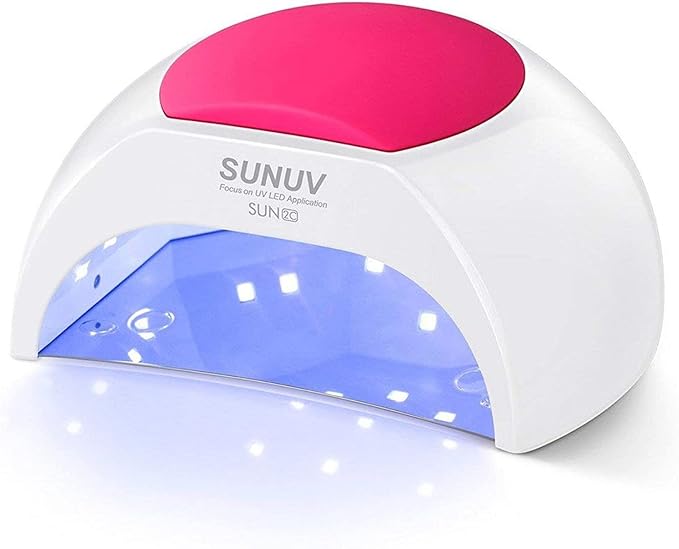
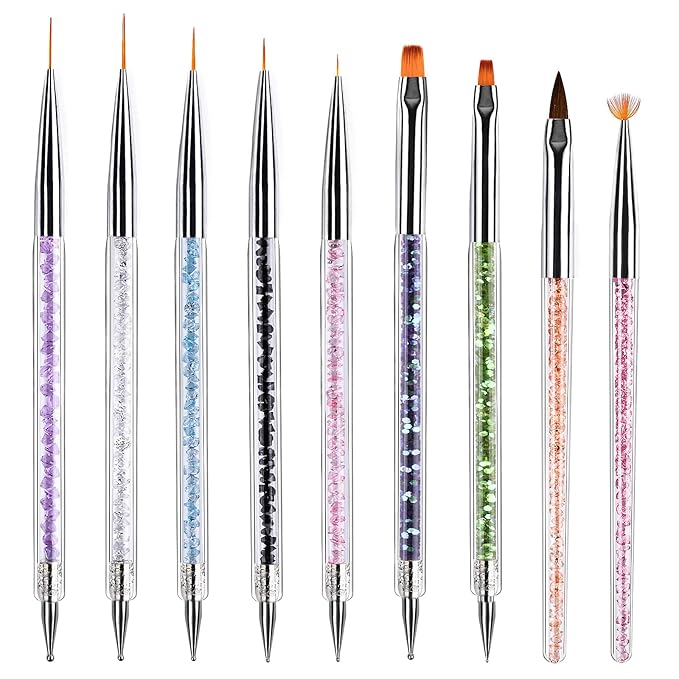
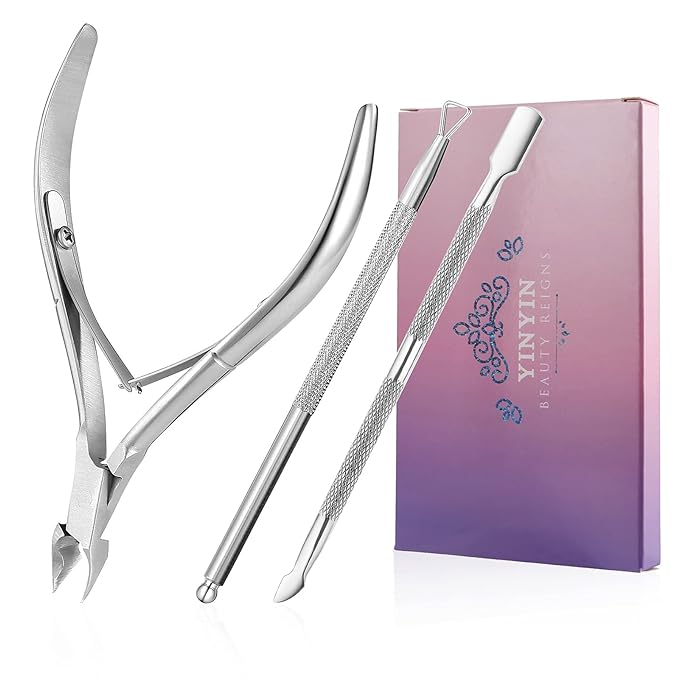
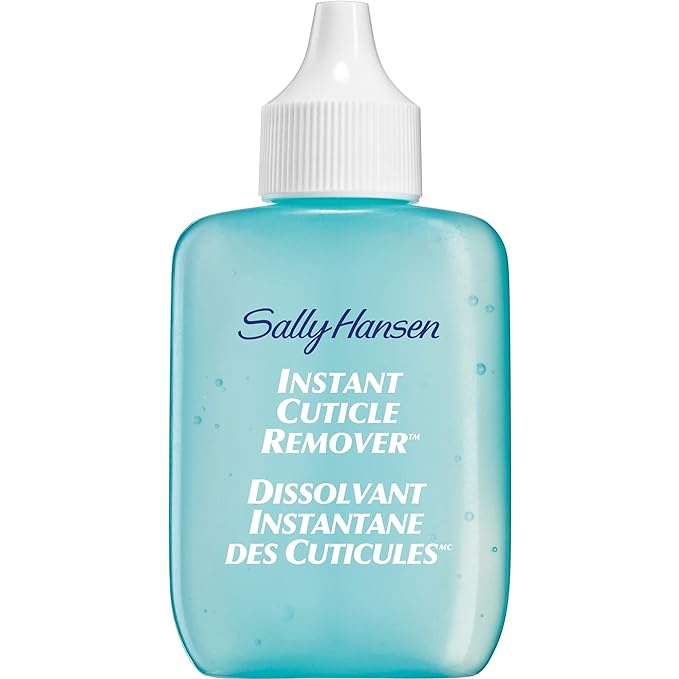
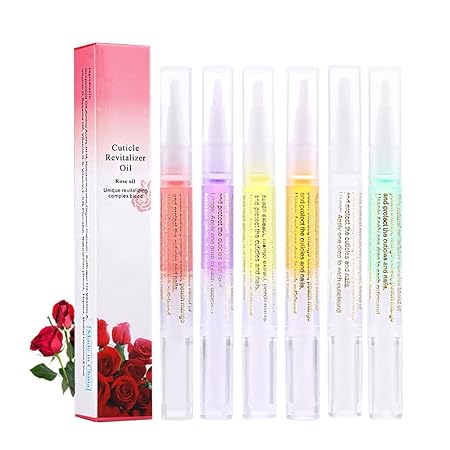
Other Items/ Tools Recommended:

Step-by-Step Instructions:
1. Preparation:
- Clean Your Nails: Wash your hands and remove any old polish. Ensure your nails are clean and dry.
- Shape Your Nails: Use a nail file to shape your nails to your desired length and shape.
- Push Back Cuticles: Gently push back your cuticles with a cuticle pusher.
- Buff the Nail Surface: Lightly buff the surface of your nails to remove any shine, which helps the gel polish adhere better.
- Clean the Nails: Wipe your nails with a lint-free wipe soaked in nail cleanser or rubbing alcohol to remove dust and oils.
2. Apply Base Coat:
- Base Coat Application: Apply a thin layer of gel base coat to each nail.
- Cure Under UV/LED Lamp: Cure your nails under the UV/LED lamp according to the manufacturer’s instructions (usually 30-60 seconds).
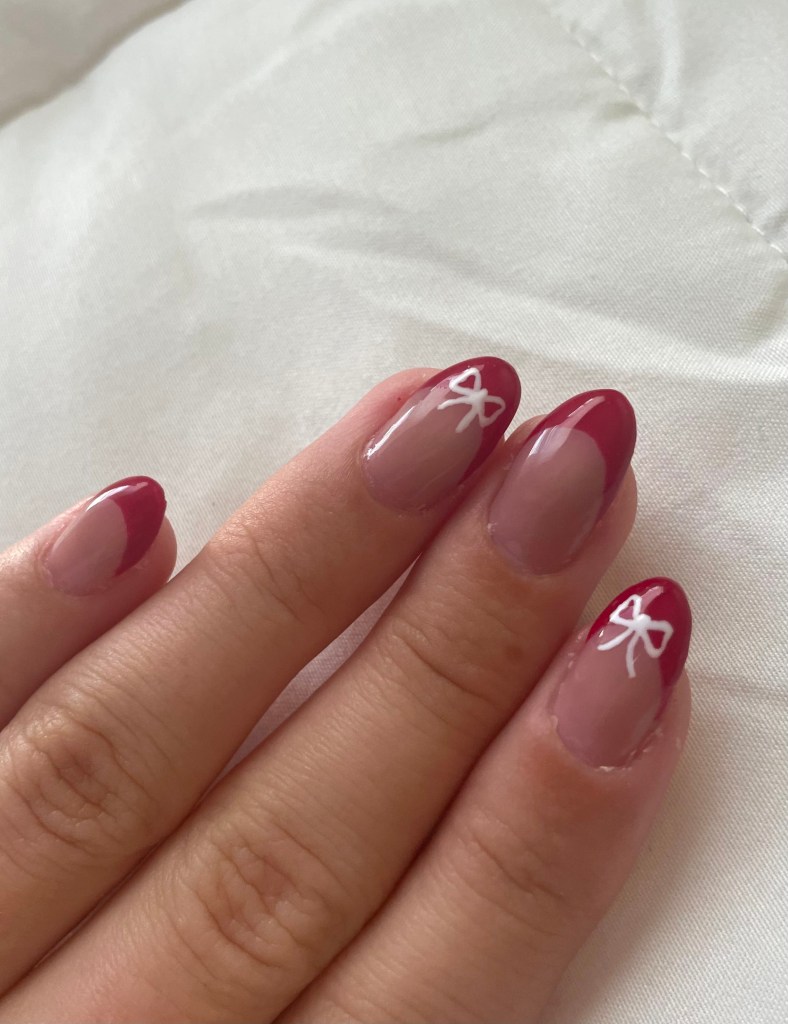
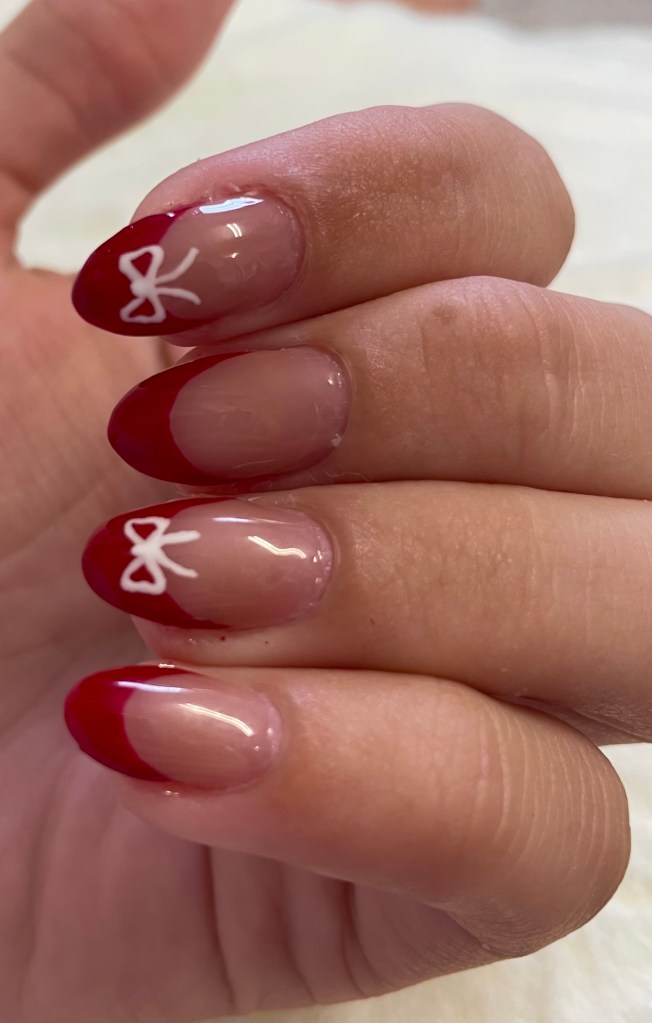
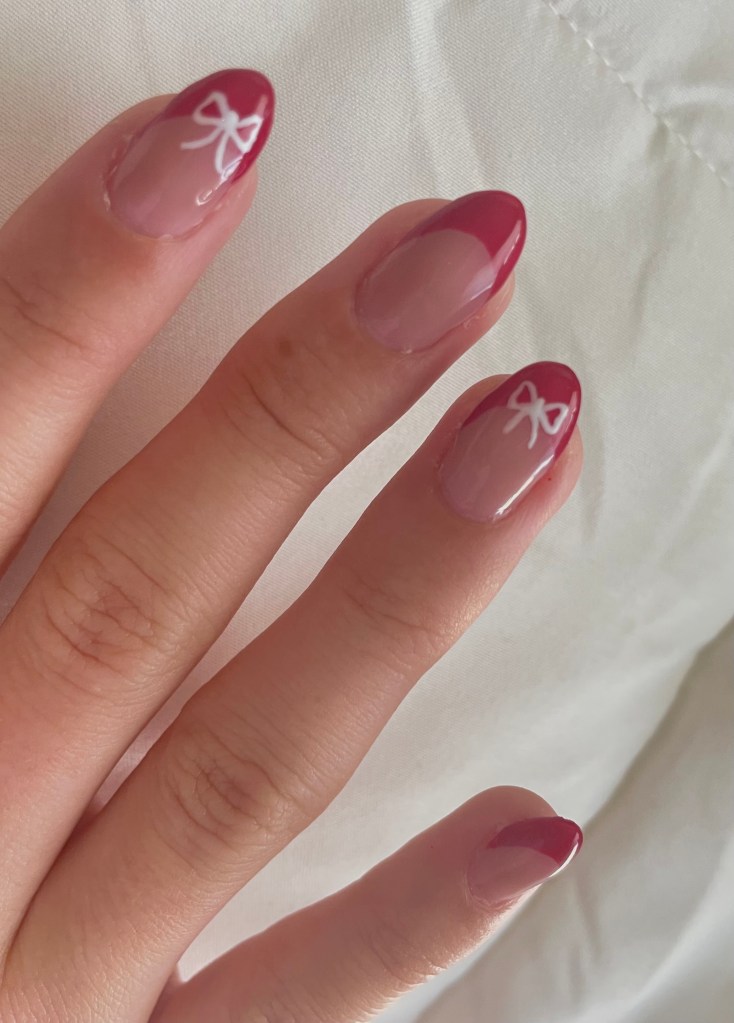
3. Create Red French Tips:
- Apply Red Polish: Using a fine nail art brush or striping brush, carefully paint red polish onto the tips of your nails, following the natural curve of your nail.
- Perfect the Line: Clean up any uneven edges using the brush dipped in a little acetone or nail cleanser.
- Cure Under Lamp: Cure the red tips under the UV/LED lamp for the recommended time.
- Second Coat (Optional): If the red polish is not opaque enough, apply a second coat and cure again.
4. Create White Bow Accent Nails:
- Choose Accent Nails: Decide which nails you want to accent with bows (usually the ring finger).
- Draw the Bow: Using a fine nail art brush and white gel polish, draw a small bow on the selected nail(s). You can start by creating two small loops (like a ribbon) and then adding a small dot in the center as the knot.
- Perfect the Bow: If you’re not confident in freehand drawing, you can use bow nail art stickers or create the bow with a dotting tool by making dots for the loops and knot.
- Cure Under Lamp: Cure the bow design under the UV/LED lamp.
- Second Coat (Optional): Apply a second coat if needed for a more vibrant white, then cure again.
5. Apply Top Coat:
- Top Coat Application: Apply a thin layer of gel top coat to seal in your design and add shine.
- Cure Under Lamp: Cure your nails under the UV/LED lamp for the recommended time.
- Final Wipe: After curing, wipe your nails with a lint-free wipe and nail cleanser to remove the sticky residue.
6. Finishing Touches:
- Moisturize Cuticles: Apply cuticle oil around your nails to keep your cuticles hydrated.
- Admire Your Work: Enjoy your red French tip nails with white bow accents!
Tips:
- If you’re new to nail art, practice drawing bows on a piece of paper first to get the hang of it.
- Use thin layers of polish to avoid a bulky appearance.
- If using nail stickers for the bows, apply them before the top coat to seal them in securely.
With patience and practice, you’ll have a beautiful, salon-quality manicure!